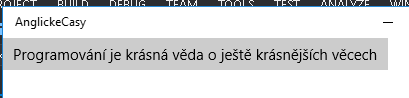
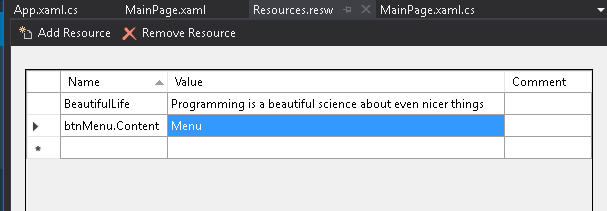
This article is a follow-up to localizing 👻 There used to be data here. Now it is just an empty lot on the internet. apps in Visual Studio with Multilingual App Toolkit 4. We created the *.resw files last time; now we will work with their contents:
The translated version looks like this:
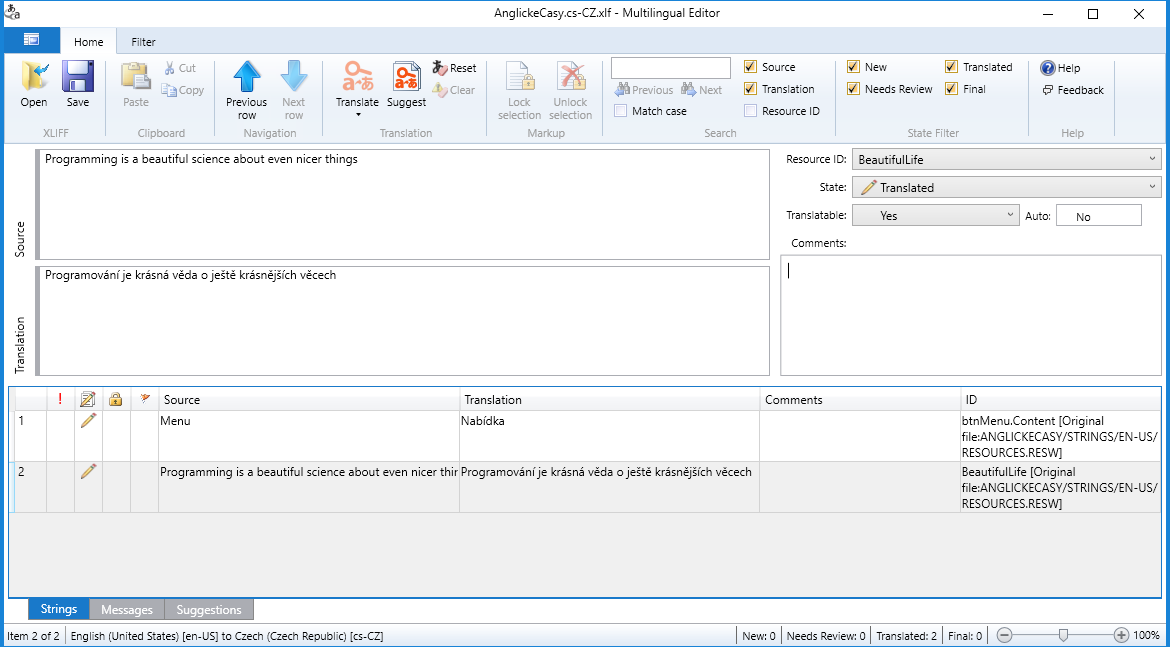
Keep in mind that every assembly has its own *.resw and *.xlf files. There is no way to use the language resources of another assembly. We will not experiment much here: if the user has Czech language preferences, they will see Czech, and everyone else will see English. 1 – Create an instance of Windows.ApplicationModel.Resources.ResourceLoader, ideally in the global scope, and whenever possible pass it as a method parameter wherever you want to use translations. This will improve the performance of your app.
public ResourceLoader loader = new ResourceLoader();If you want to load translations in another project (here it is “apps”), you have to specify the name of the ResourceMap:
static ResourceLoader loader = ResourceLoader.GetForCurrentView("apps/Resources");2 – Write the definition of your element in the XAML code. If you want to fill in the text without C#, use x:Uid.
If you use C#, use x:Name. Of course, you can use both, even with different names.
<Button x:Name="menuButton" x:Uid="menuButton" Click="menuButton_Click"></Button>3 – We have a Click event handler because the button text changes after a click.
private void menuButton_Click(object sender, RoutedEventArgs e)
{
    menuButton.Content = loader.GetString("BeautifulLife");
}
4 – Enjoy the result.
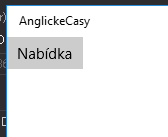
After the click, as we all know, the text changes: