This tutorial was originally written for an ASP.NET MVC 5 Web App, but it can be used with no or only minimal changes for almost any project type in Visual Studio. Here I will cover those MVC 5 web apps and also UWP/UAP, the universal apps for Windows 10 – the first steps are the same everywhere, and the following ones will get separate articles.
Multilingual App Toolkit (MAT) is an amazing tool from Microsoft that lets you localize apps written mostly in C#. It is currently at version 4.0 beta and you can download it from 👻 Microsoft shut down the Visual Studio Gallery in 2018.. A more detailed description of the app can be found on the Windows Dev Center . It supports the following types of apps and projects:
- Windows Universal Apps
- Windows Presentation Foundation Apps
- Windows Forms Apps
- Windows (Phone) Store Apps
- Xamarin Apps for iOS
- Xamarin Apps for Android
- ASP.NET Web Apps including MVC
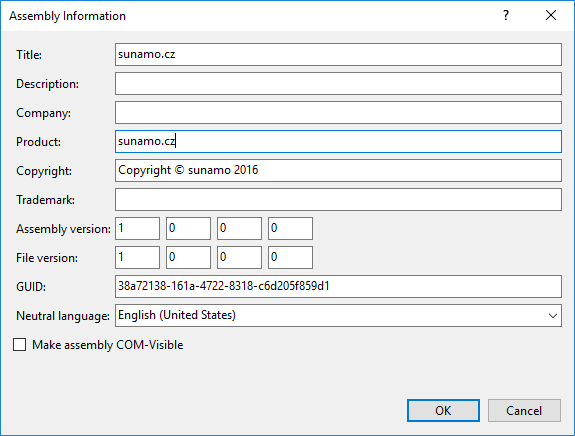
Let’s get started! 1 – First, set the default / neutral language culture of your project. Select the project in Solution Explorer, press Alt+Enter, then the “Assembly Information...” button, and pick the culture from the drop-down list. You can also type, which is faster, as autocomplete works there.
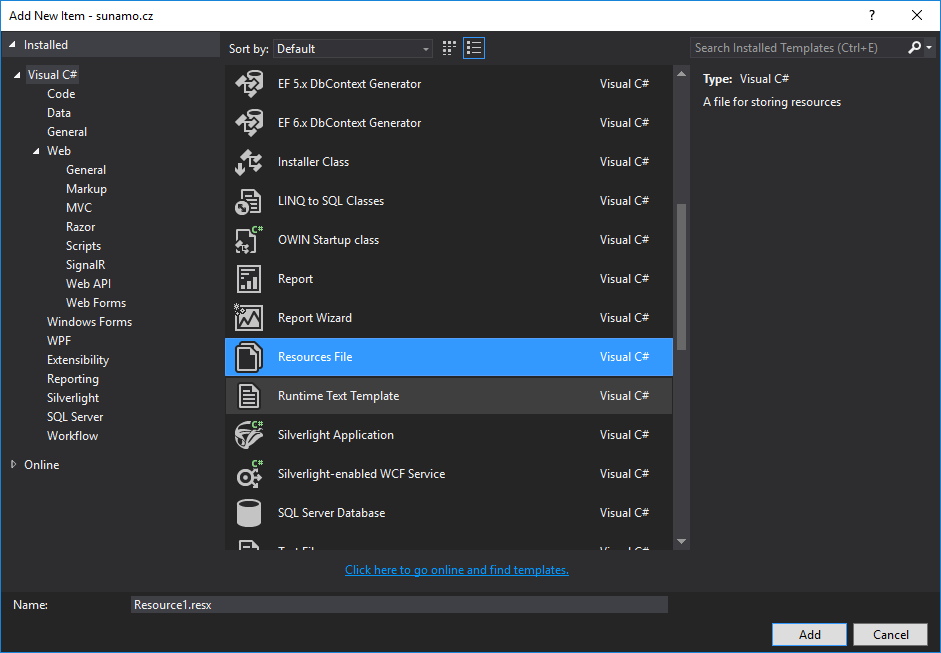
2 – We need to create a Resources.resx file in the Strings/en-us folder of your app. Of course, replace en-us with your own neutral culture if it is different. In Windows Universal the template is also called Resources file, but it has the .resw extension. Still, you work with it in exactly the same way.
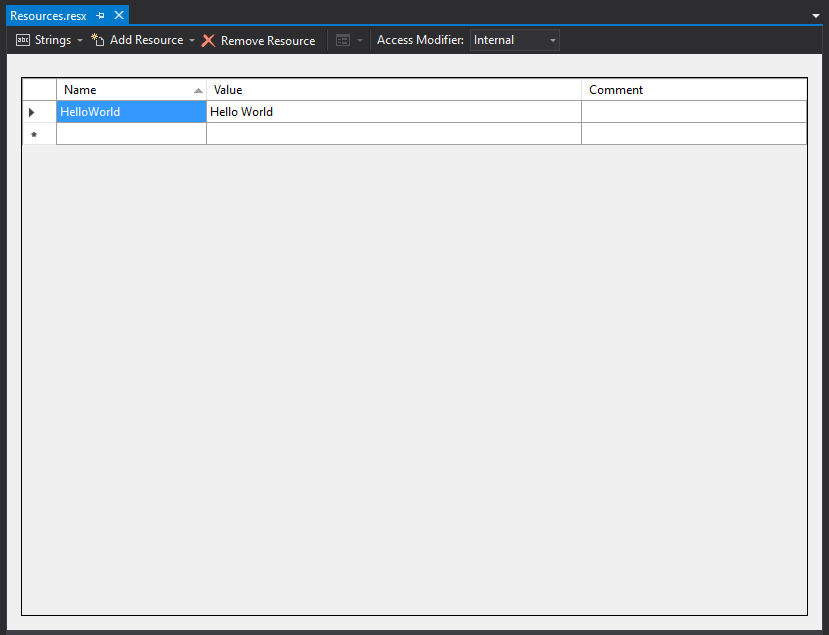
3 – Enter the resource names into this file in your neutral language (in my case en-US):
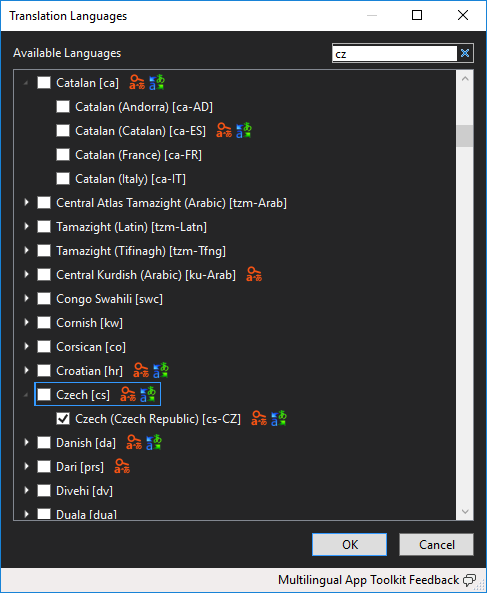
4 – Enable MAT support for your project. That means selecting it in Solution Explorer and choosing Tools -> Multilingual App Toolkit -> Enable selection from the menu. The Output window will show: [code]> Project ‘sunamo.cz’ was enabled. The project’s source culture is ‘en-US’ [English (United States)][/code] 5 – Select the project in Solution Explorer again and choose Multilingual App Toolkit -> Add translations language ... . The following dialog opens, where you select your neutral language and any number of other languages you want to localize into:
6 – A MultilingualResources folder is created, containing *.xlf files, one for each language except the neutral one. Open one by double-clicking it and you will see something like this:
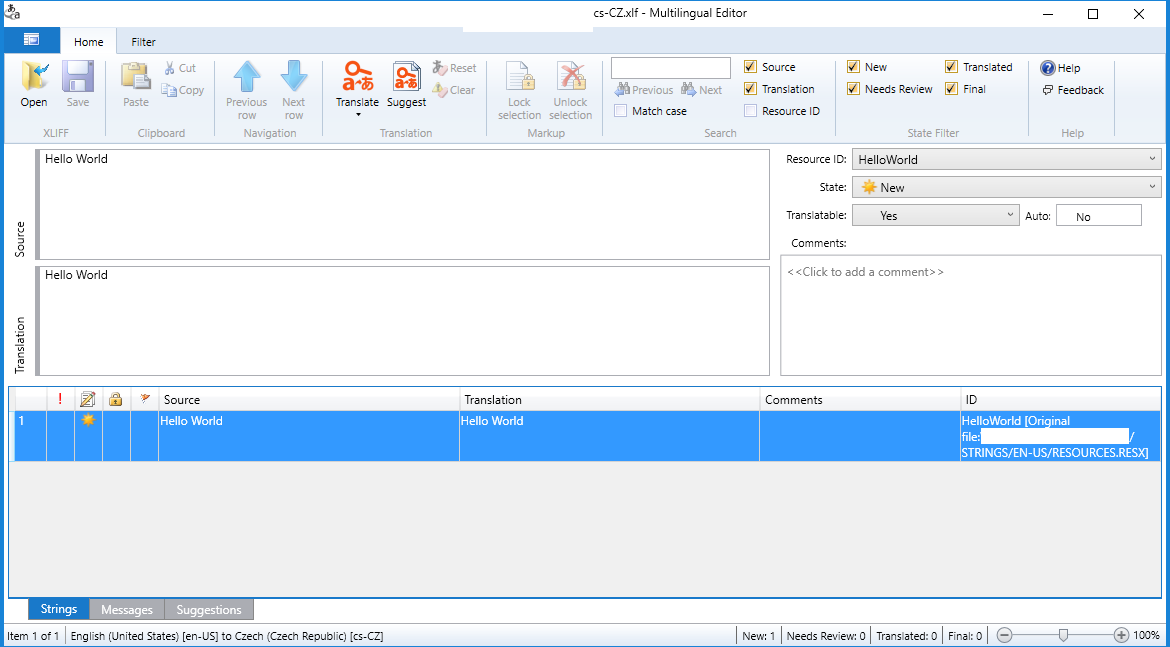
Enter your own translation or click Translate, which uses Bing Translator (free). For me it translated “Hello World” into “Ahoj svete“, which is a good translation 😀 so I saved it and closed it. You can use machine translation, then edit the result and set it to final so it is no longer machine translated. 7 – In every .resx file in the Strings folder, set the access modifier to Public. This generates .cs files with definitions that Visual Studio uses for Intellisense. After every change in *.xfl you also need to build the project (ctrl+shift+b by default; I have it mapped to f6 since the days of VS 2005, which was my first one). Then continue according to the nature of your app:
- 👻 Localizing an ASP.NET MVC 5 Web App with Multilingual App Toolkit 4 – there used to be data here, now it is just an empty lot on the internet.
- Localizing a Windows 10 Universal App with Multilingual App Toolkit 4